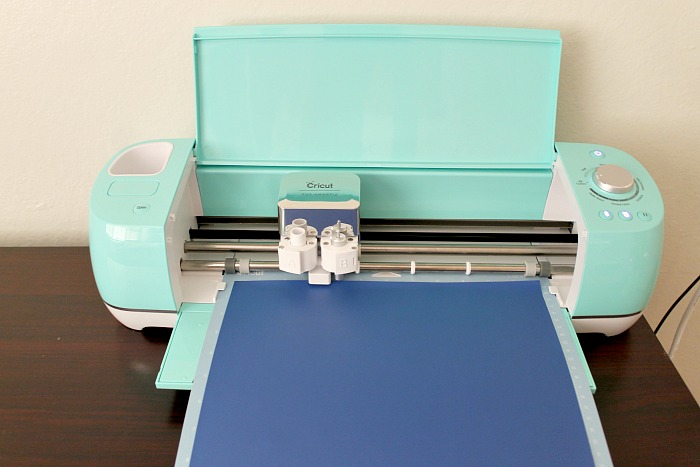
Did you recently get a Cricut Explore Air 2? I did, too! Well, it’s been a few months and I’m still learning how to take advantage of this amazing tool! I haven’t been crafty in years, but the Cricut has definitely inspired me and given me my mojo back.
Ask anyone who has a Cricut how they like it and I guarantee you’ll hear nothing but good stuff. It’s just so easy to make beautiful gifts and projects. My family and I are definitely smitten. We can spend hours in the office-turned-craft room playing around with our Cricut Air 2.

1. Read the instruction manual.
You’re going to be tempted to jump in without reading the instruction manual. Don’t do it. There is so much good information about how to use the Cricut Explore Air 2, and it’ll save you time and a headache in the long run.
2. Try out a simple project. Or two. Or more.
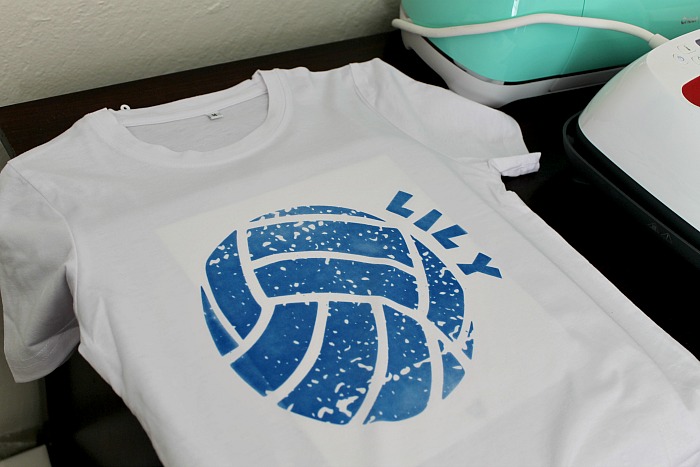
Before you go crazy trying to do a complicated project with multiple colors and processes, start simple. I did a tee-shirt for my first project. And my second one. We also did a bunch of them for our volleyball team. Now that we’ve completed 13 different shirts, we have a good sense of how to not waste material.
I know you’re going to want to jump in with both feet, but if you pace yourself, when you get to the big projects, you’ll have a lot more fun.
3. Learn about the different types of vinyl and other material.
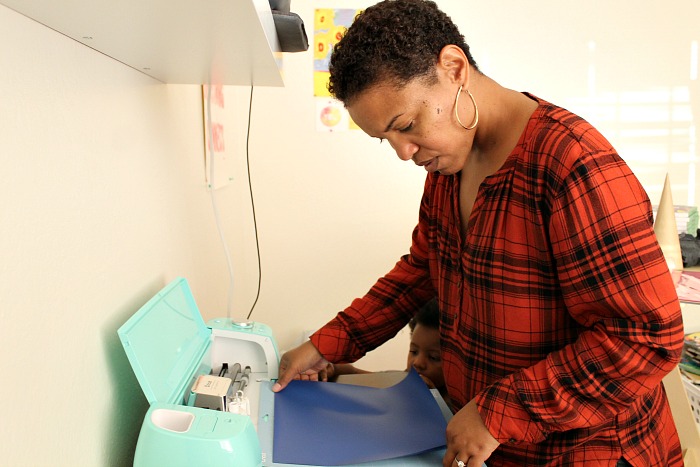
Don’t be like me, y’all. Make sure you learn about all of the varieties of vinyl and other materials that you can use with your Cricut Explore Air 2. Go to the Cricut website and find out what kind of projects use which material. Take your time, and make sure you’re loading it into the machine right, and trying to adhere it to the right surface.
4. Make sure you have a the right tools.
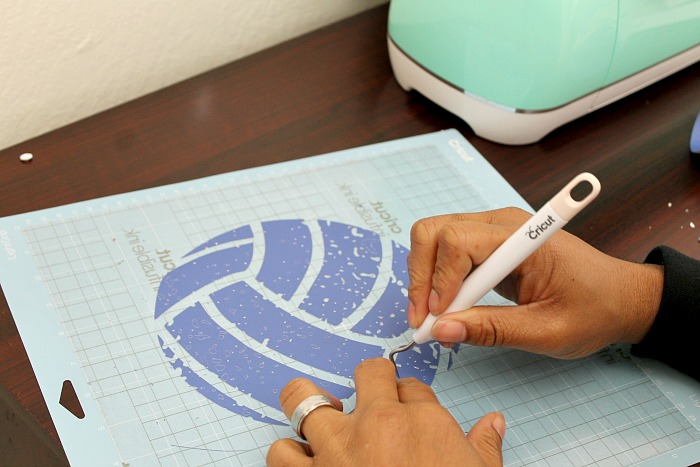
When we first got our Cricut Explore Air 2, I was so excited to get started that I just jumped into the project. I found out quickly that weeding tools are very important. I have the Basic Tool Set now that comes with five essential tools, and it’s perfect. The kit is less than $15, too!

5. Play around with Cricut Design Space.
I know that when you first get a Cricut you might have some ideas of what you want to create in mind already. Please, I beg of you, start with Cricut Design Space and check out their free projects before you do your own thing. Their projects have been tested and will assure that you won’t waste vinyl or other material.
There are so many cool projects using different material for every occasion on Design Space! Take advantage of them, y’all. Once you’ve learned how to do all of the Cricut actions like attach, flatten, contour, etc. then you’ll be ready to do create your own projects!
6. Look for free and inexpensive svg images online.
If you’re like me, creative but not necessarily crafty, there’s help! There are tons of makers online who have free or inexpensive SVG files that you can use to make beautiful projects. I knew I wanted to make Ayva’s volleyball team personalized shirts. Although there is a volleyball image on Design Space, I wanted something a little more detailed.
I did a quick search on Google and found a cool volleyball svg image from My Design In The Chaos. I uploaded the image to Design Space, added the girls’ names to each shirt, and printed it out. Of course, I also pinned it and now she’s on my list to buy from whenever I’m looking for other designs.

7. Buy blanks from Amazon.
People always joke that crafting is more expensive than just going out and purchasing the thing you’re making. It doesn’t have to be, though. Keep your eyes open for low-cost blanks from Amazon to adhere your creations to. I found everything from tumblers to makeup bags, tee-shirts, and more just by searching (affiliate link) “blanks for vinyl projects” on Amazon.
Big box stores like Target, Walmart and Michaels might have a few neat things for you to use in your projects as well. I bought a set of 8 white notebooks with blank covers from Target when they were on clearance right after school started. I paid $1. We’ll add a vinyl sticker to it and I’ll gift it to a few of my friends who are writers.
8. Watch maker videos on YouTube.
I haven’t done a project yet where I didn’t need help. The Cricut Explore Air 2 makes it easy for you to start crafting. There’s still a period where you’re figuring out specifics, though. That’s where the videos come in. Whether you need someone to break down weeding, or need to know what side the vinyl should be loaded into the machine, creative makers have the answers.

9. Make sure everyone knows how to use the Cricut safely.
Our Cricut Explore Air 2 is fun for the entire family. My daughter and husband have been loving it just as much as I have. Oh, and the other day, my son came in with his arms full of clothes asking me to “put some Cricut on it.” As much fun as it is to use, it’s not a toy.
Be sure everyone knows that that there is a blade in the machine that could hurt them, and that kids should ask permission and have an adult in the room when they use it.
When your Cricut isn’t in use, you should unplug it.
Remember, your Cricut is a tool. Use it safely.

You might also like these posts:
The Cricut Air 2 is Perfect For Busy Moms Who Want To Craft
I used the Cricut EasyPress to make a shirt in 30 minutes
This is a sponsored conversation written by me on behalf of Cricut. The opinions and text are all mine.
is this the pistachio version
This is, yes!
Hello
Where did you purchase your tool kit for $15. I seen it for twice that amount at Michael’s and Amazon.
Thanks
Where did you get a manual for your Cricut? It would make learning how to use it much easier.